BOB is a multi-chain & multi-collateral stable token enhanced with optional privacy features. It is currently available on Polygon, Optimism, BNB Chain, Ethereum and Arbitru with additional chains on the horizon.
Today we will show you how to create a wallet for storage BOB on Polygon.
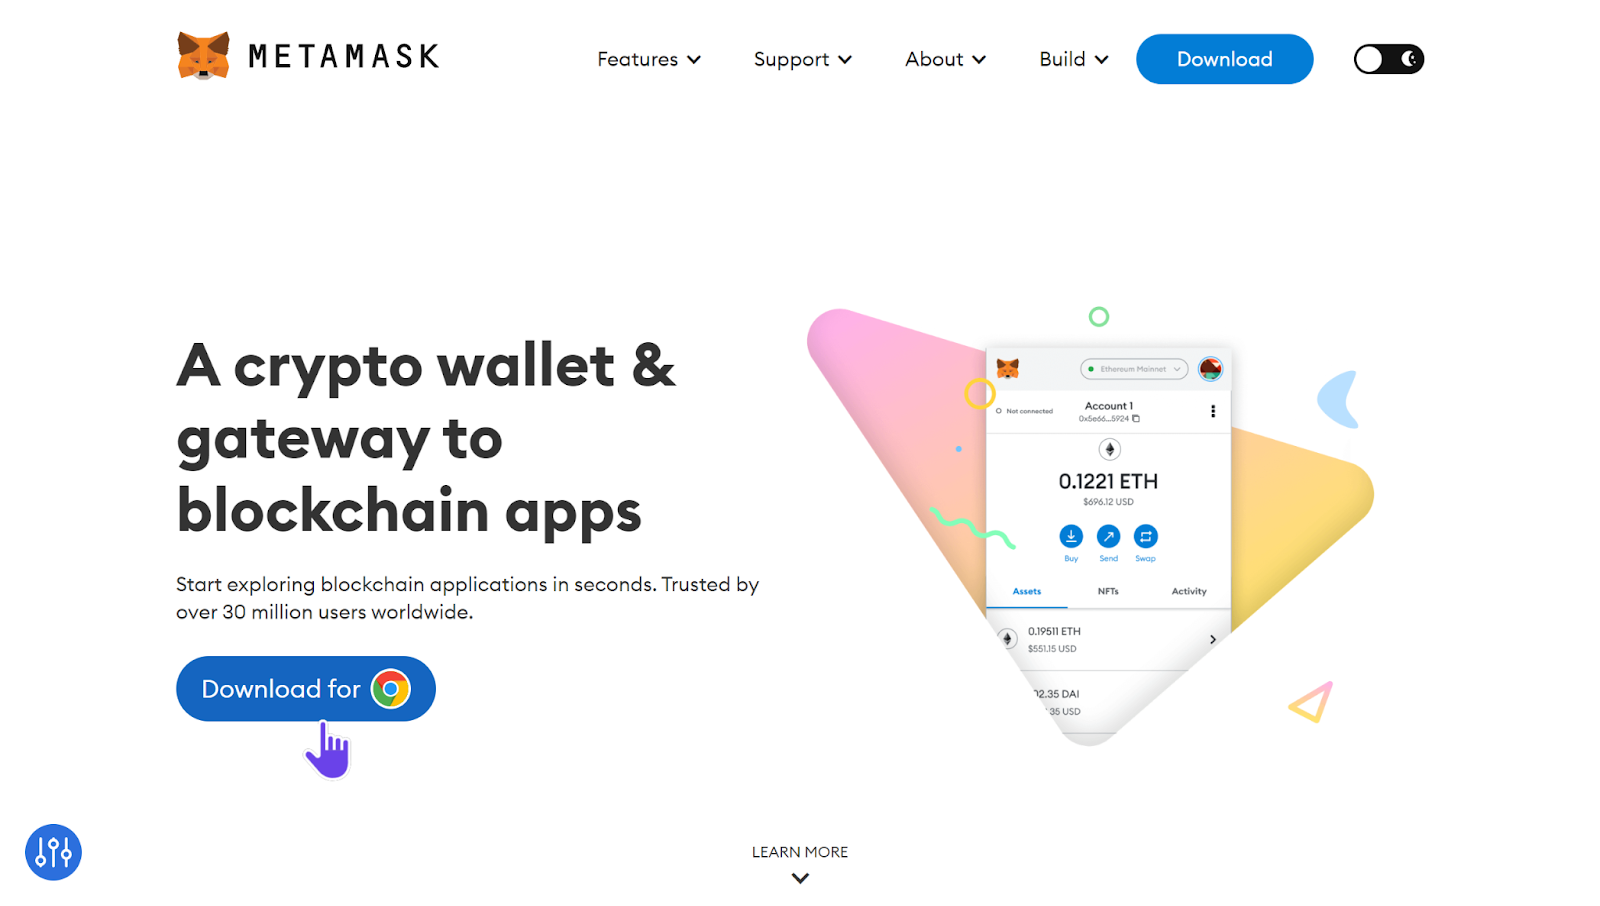
Step 1. Go to MetaMask and click the «Download for Chrome» button.
Step 2. Click the «Add to Chrome» button and install the extension to your device.

Step 3. Once the extension is installed, it will open in a new window. Click the «Get Started» button.

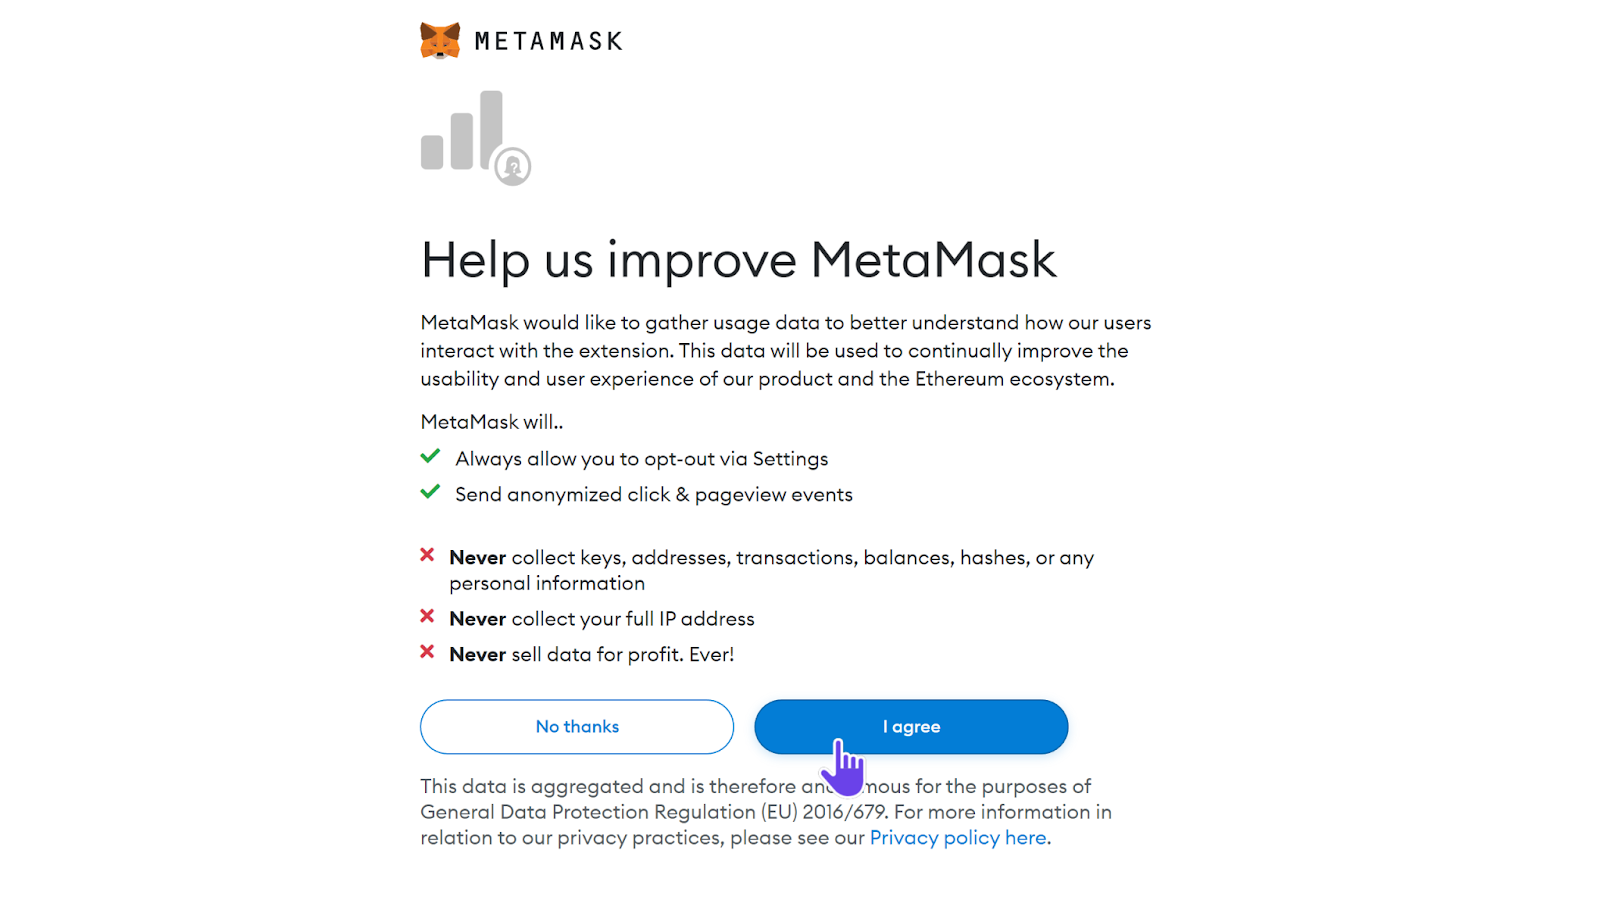
Step 4. Agree with the terms of usage of MetaMask by clicking «I agree».
Step 5. Click the «Create a Wallet» button.

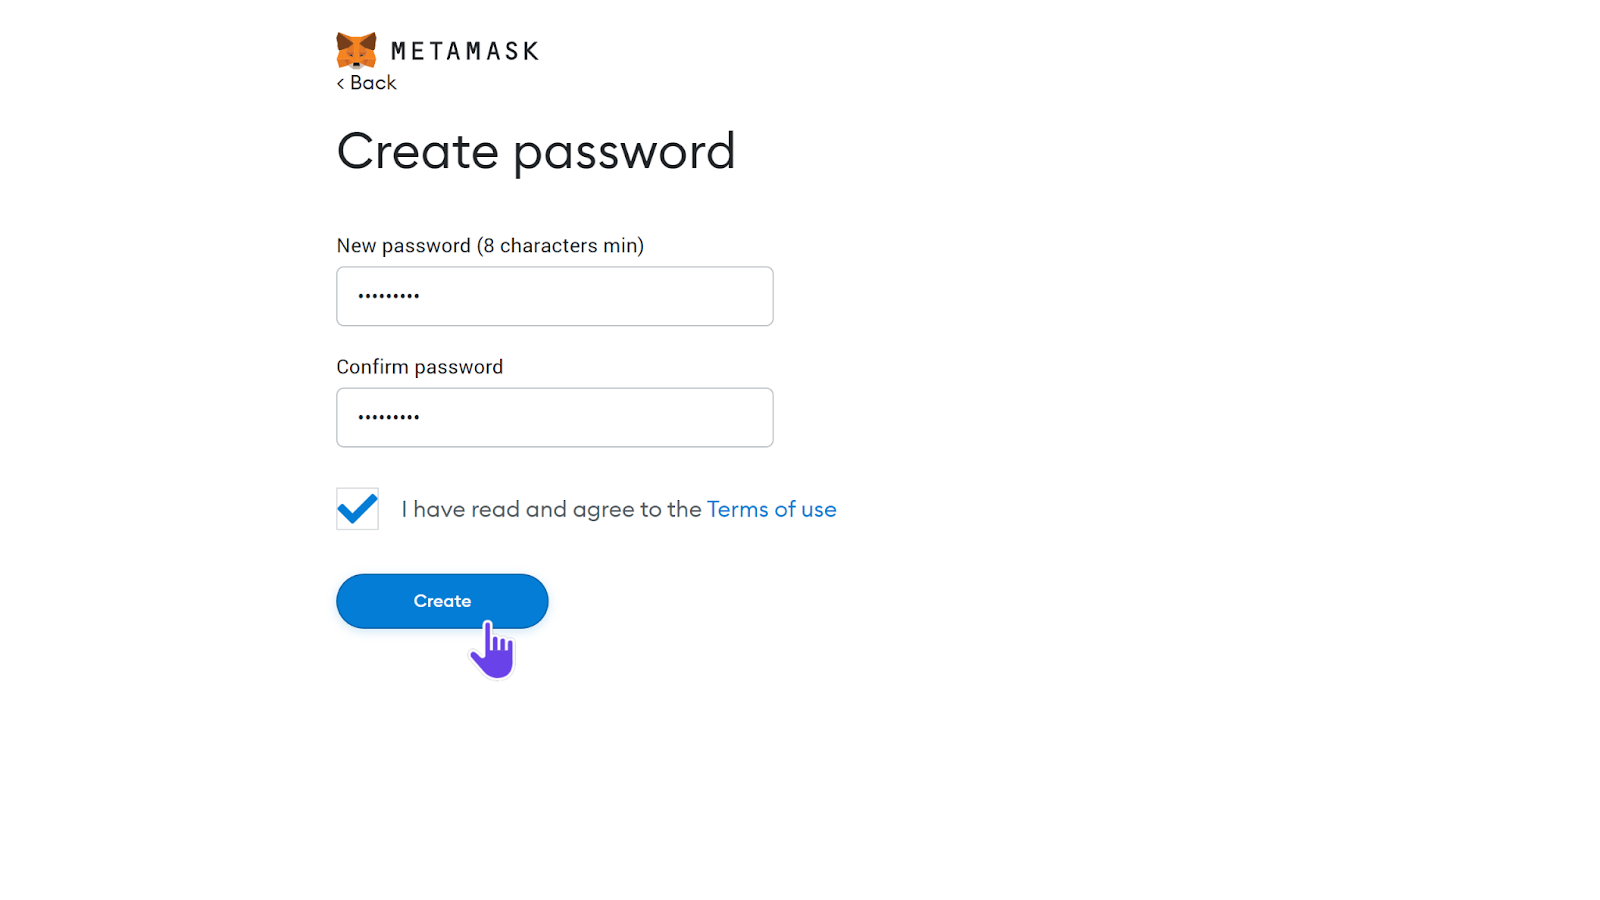
Step 6. Come up with a strong password and set it. Then press «Create».
Step 7. Watch the video about secret recovery phrase for the safety of your funds and then go next.

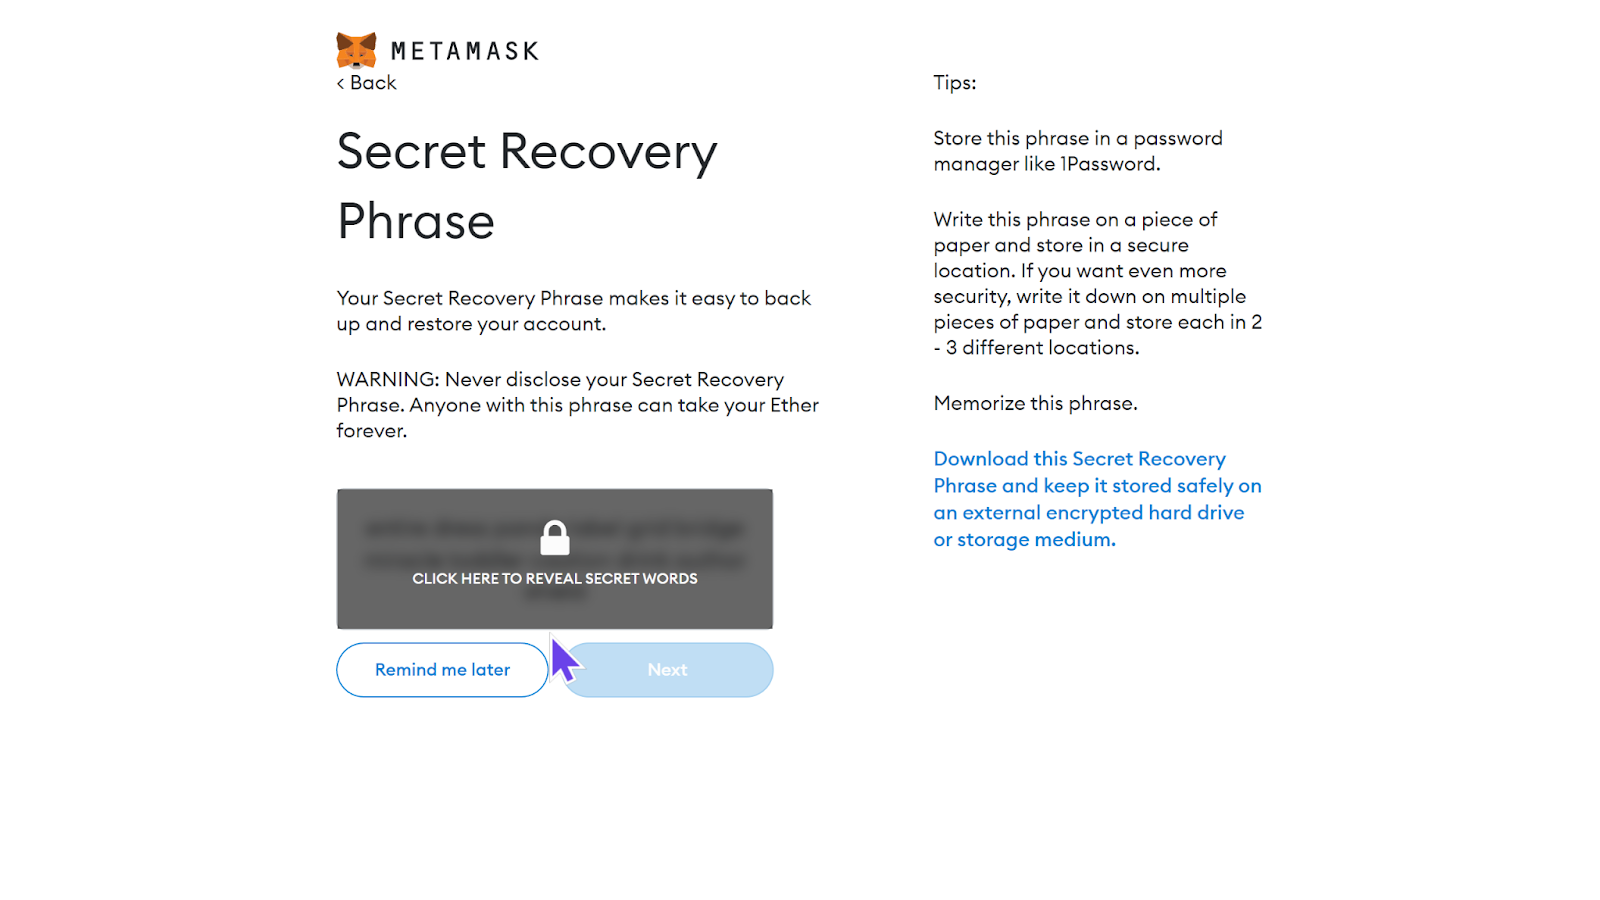
Step 8. Save the 12-word recovery phrase in a secure place.
You will need it to quickly regain access to your wallet. It is better to save the phrase in several places: without it, if the password is lost, it will be impossible to restore access to the wallet even through the support service. And never share this data with anyone!
Step 9. Confirm your Secret Recovery Phrase.

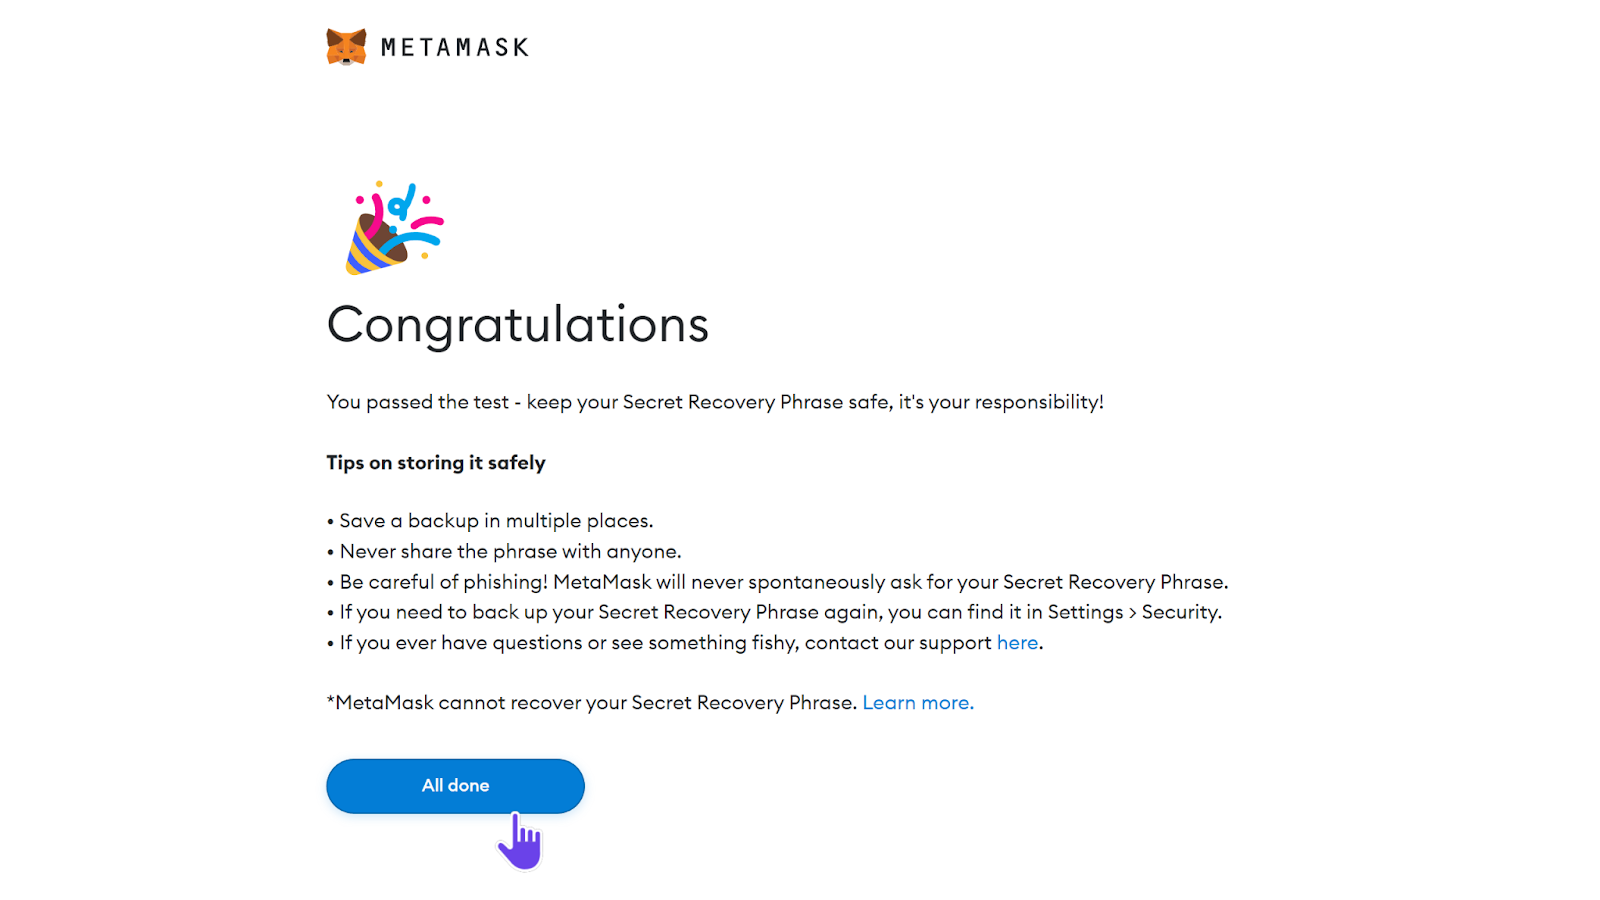
Step 10. Congratulations! You created a MetaMask account. Click «All done». But the work doesn't end here.
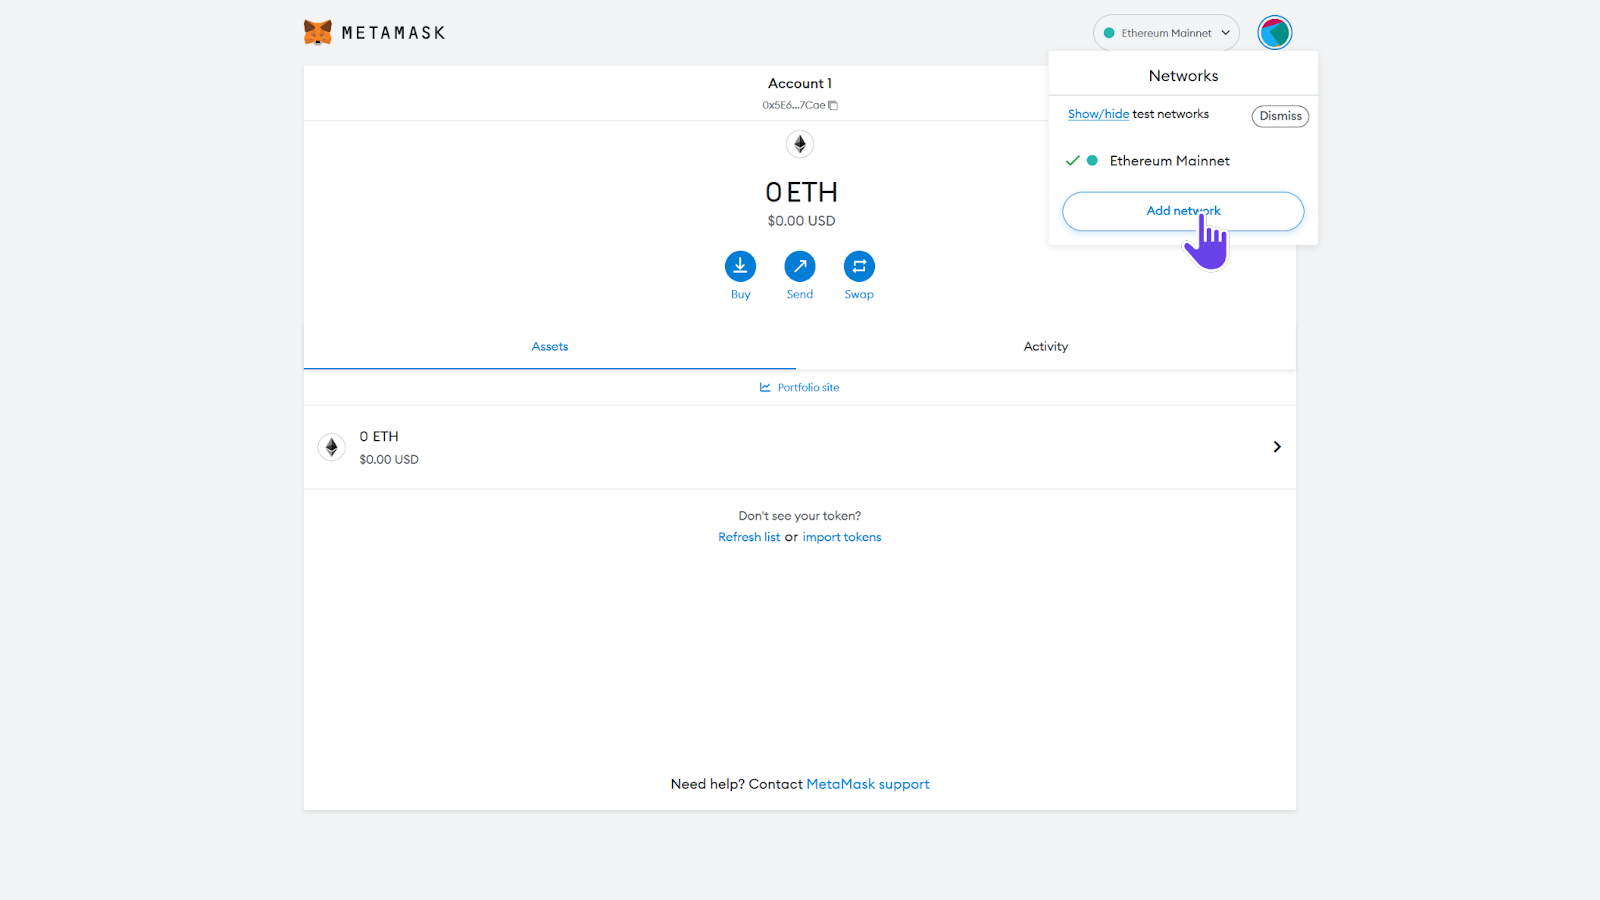
Step 11. Let's configure MetaMask to connect to the Polygon Network. Click the arrow next to «Ethereum Mainnet» in the upper right corner. In the new menu click «Add network».
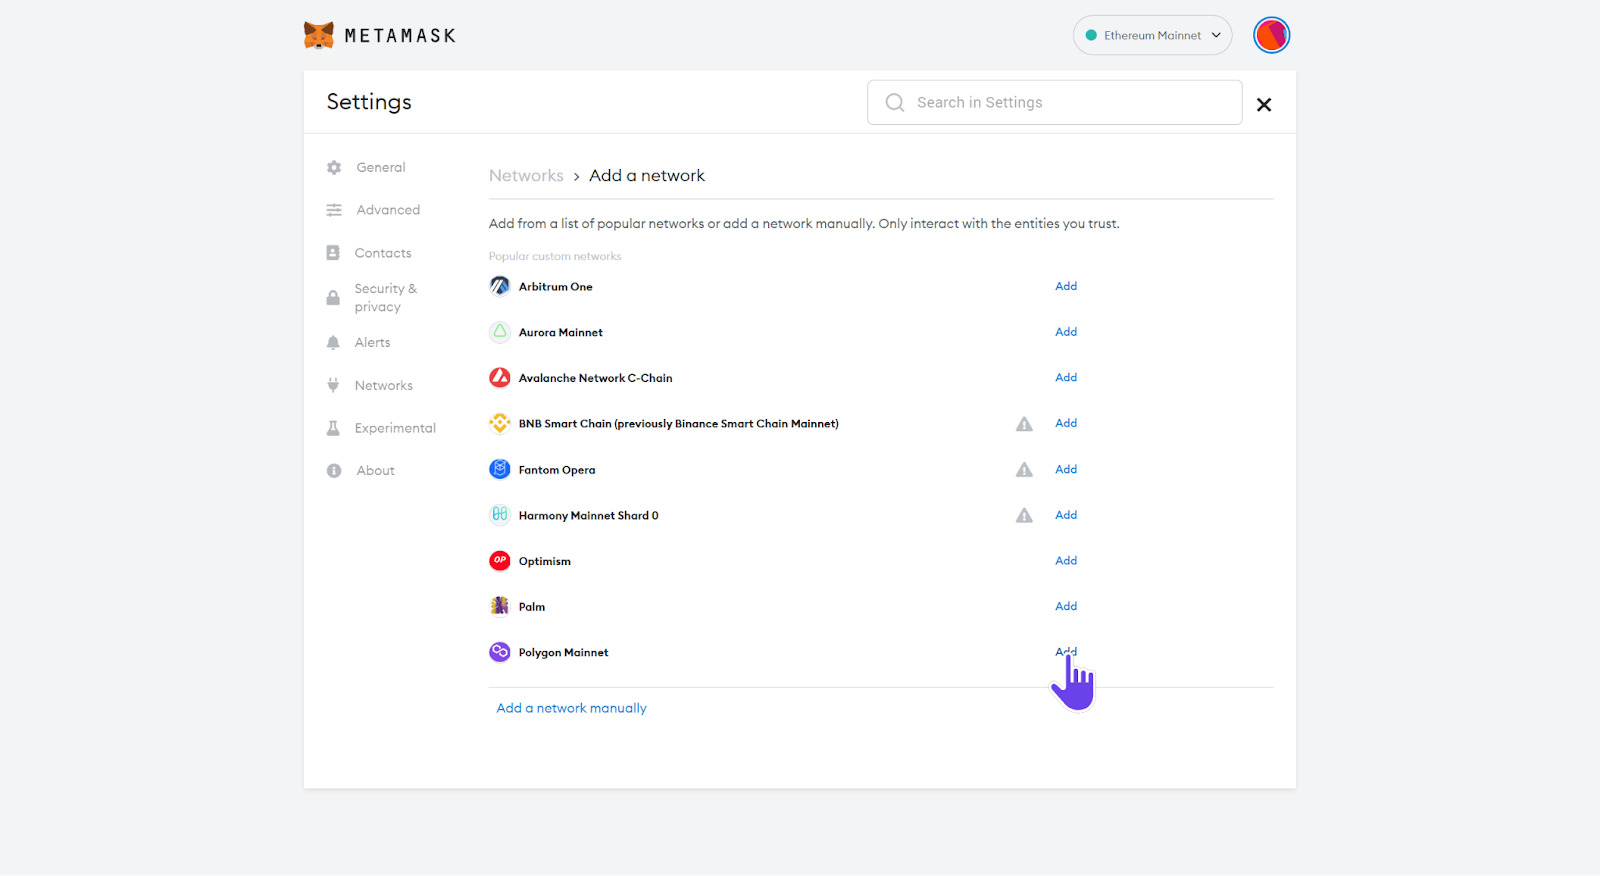
Step 12. You will see a list of popular networks. Find the Polygon and click the «Add» button.
You can also connect to the Polygon network manually. The details are on step 15.
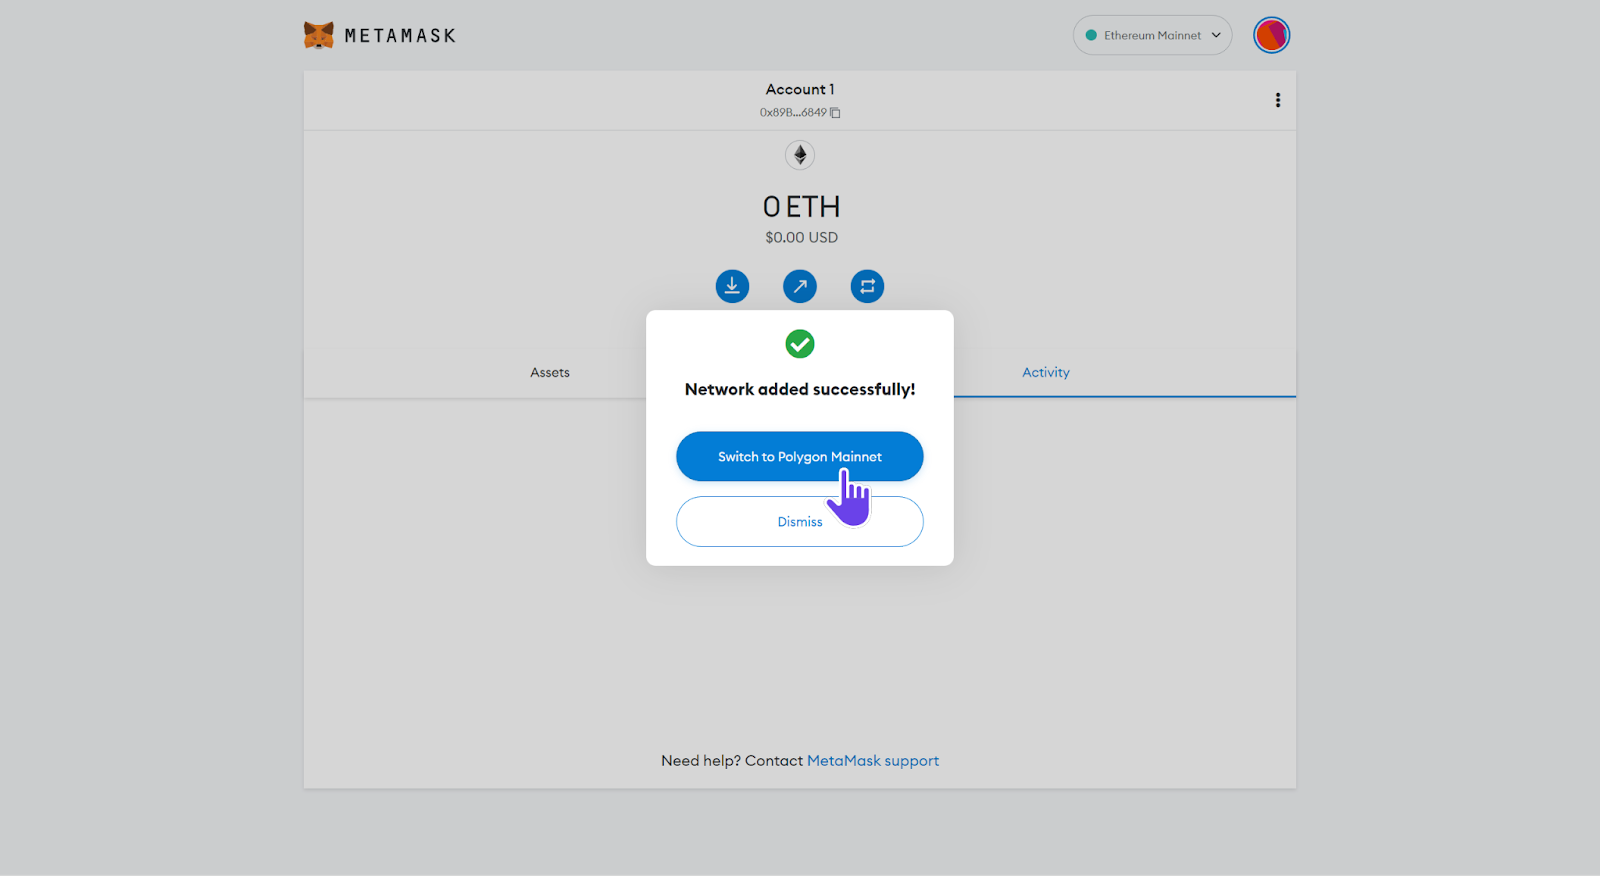
Step 13. Approve the addition of the new network.

Step 14. After you have added the Polygon network, you will be prompted to switch from your current network to the one you just added.
Step 15. You can also add the Polygon network manually. To do that you need to fill in some details.
🕸 Network Name: Polygon Mainnet
🔗 New RPC URL: https://polygon-rpc.com/
💬 Chain ID: 137
🪙 Symbol: MATIC
📖 Block Explorer URL: https://polygonscan.com/

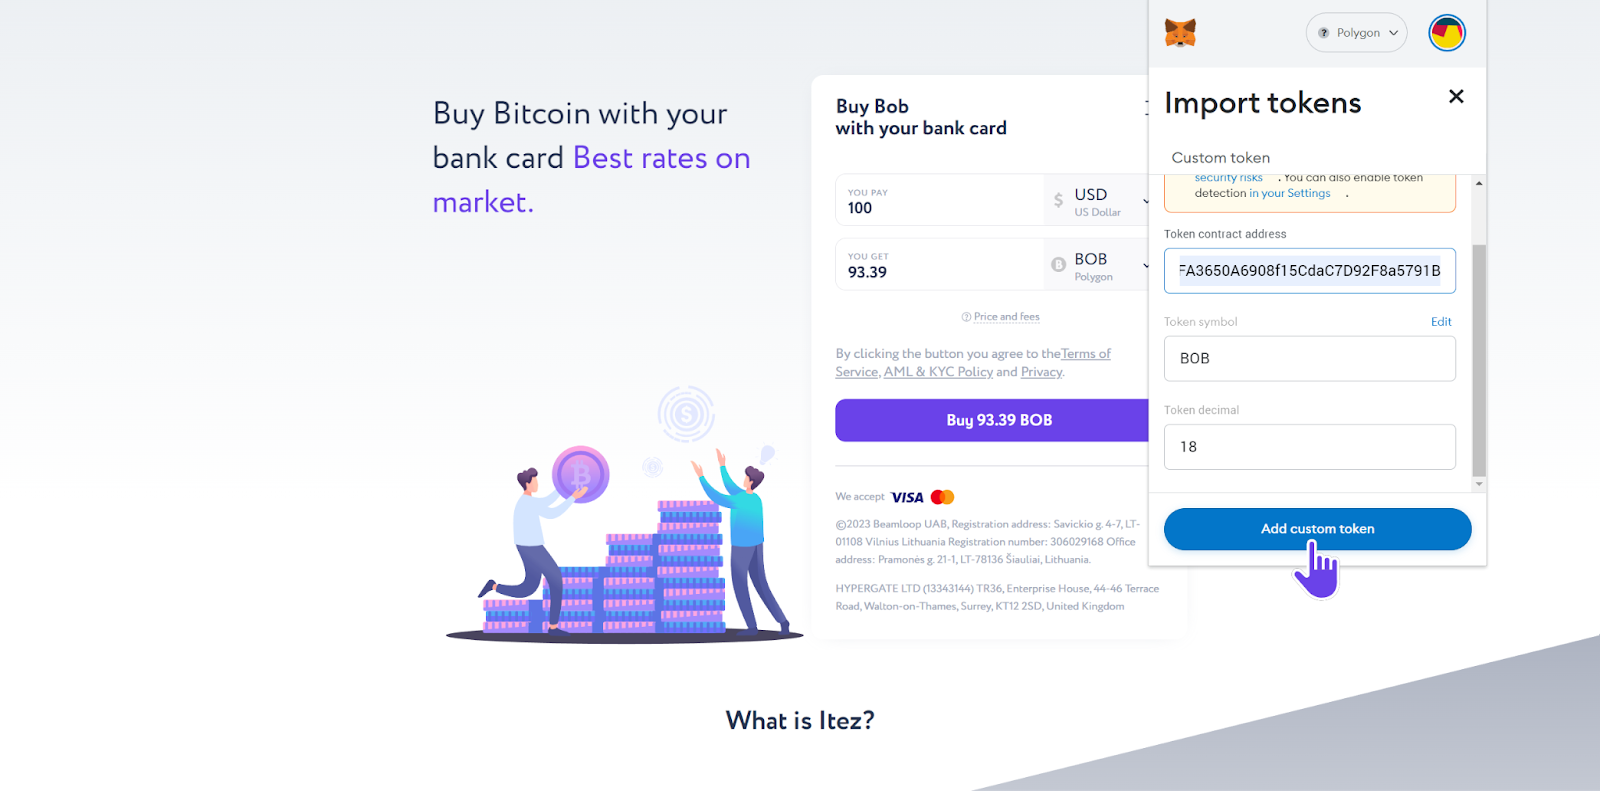
Step 16. Now we need to add the BOB token. Click the «Import tokens» button.

Step 17. Enter the address of the BOB token and click «Add custom token».
📍 Address: 0xb0b195aefa3650a6908f15cdac7d92f8a5791b0b
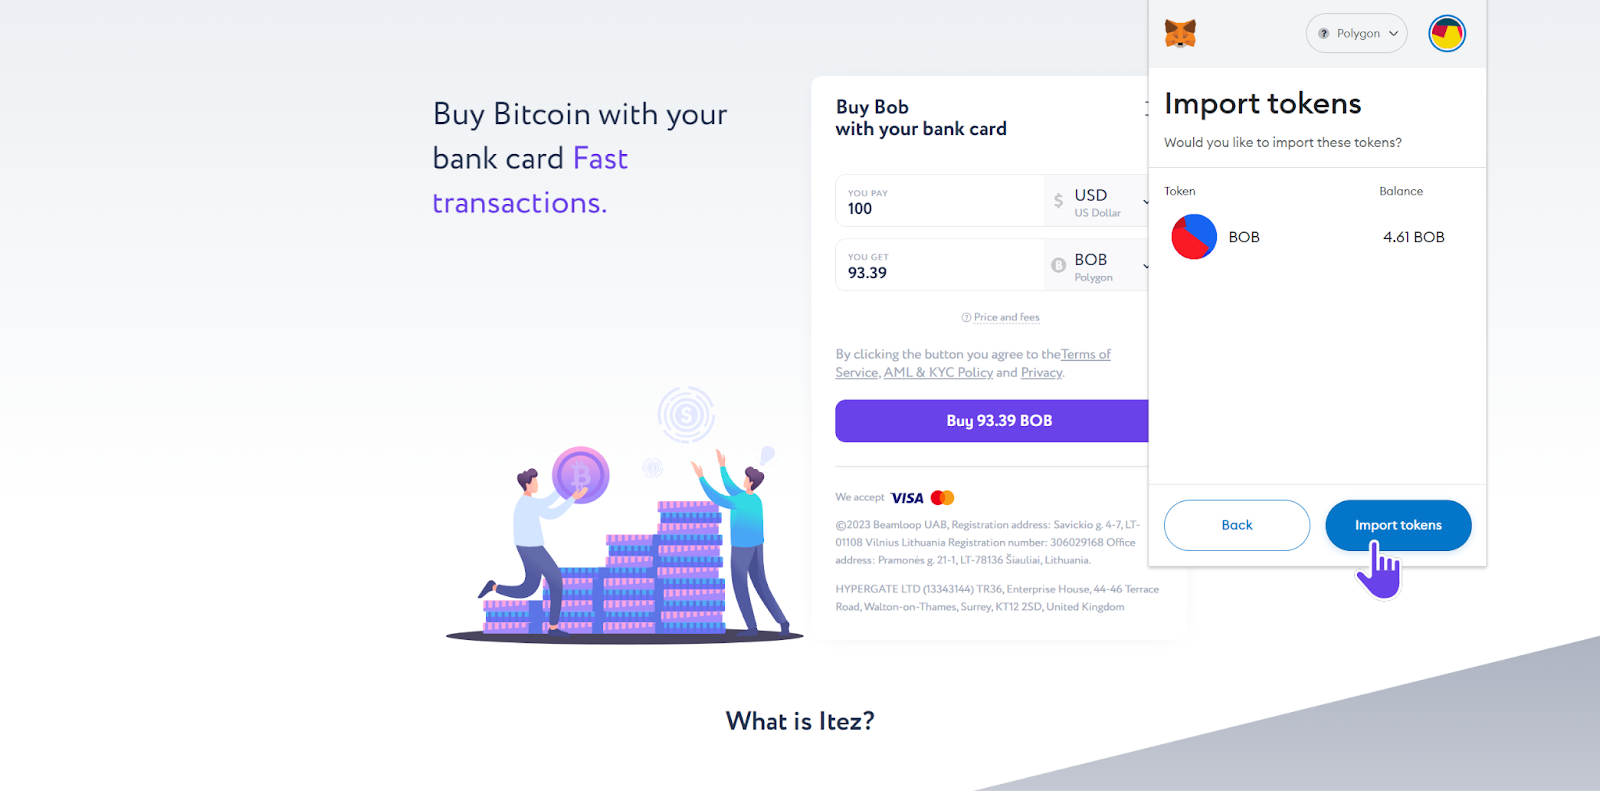
Step 18. Confirm adding the token to the Metamask.
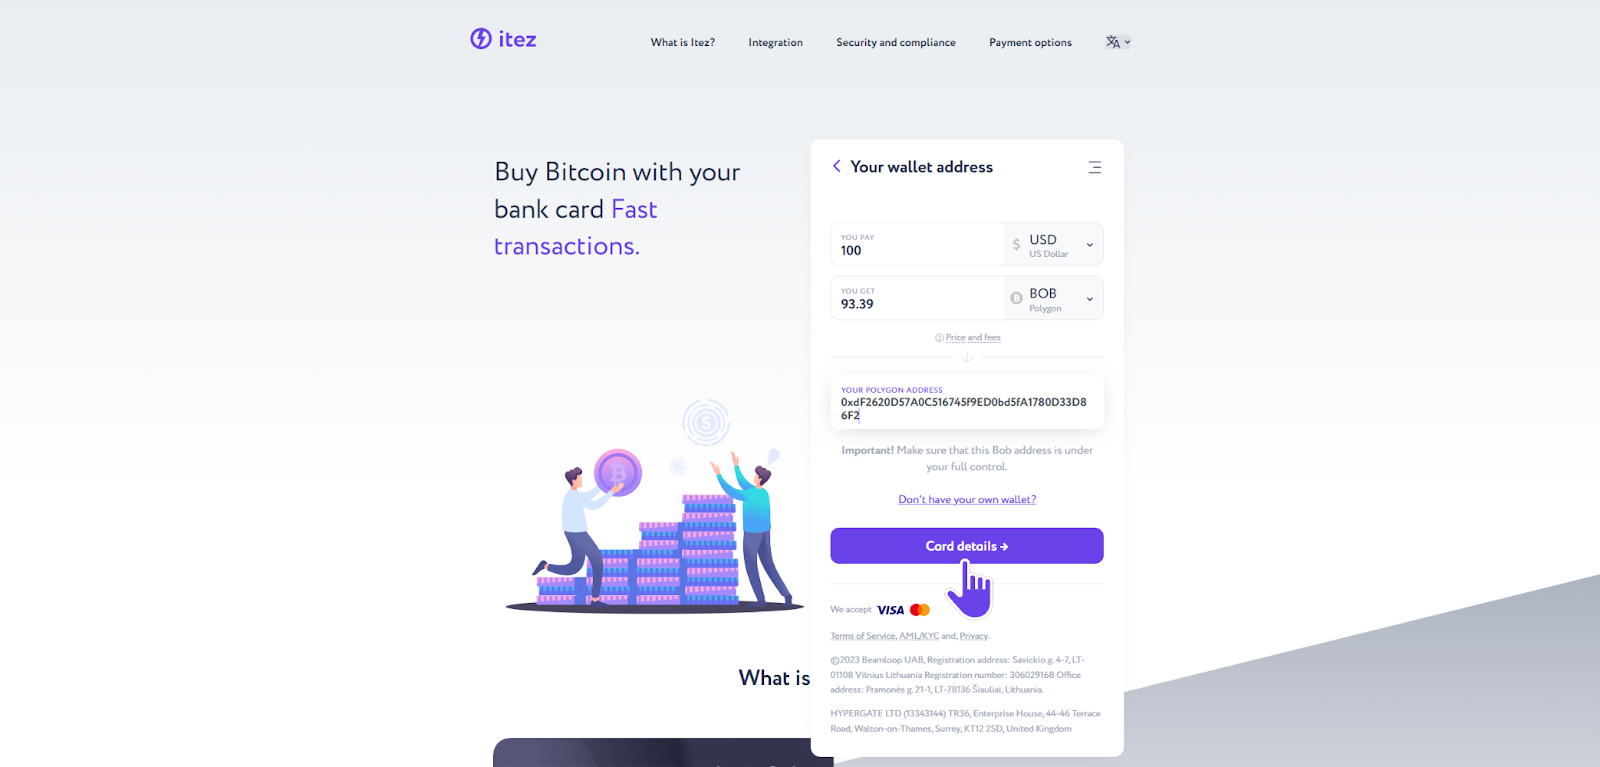
Step 19. Copy your MetaMask wallet address.
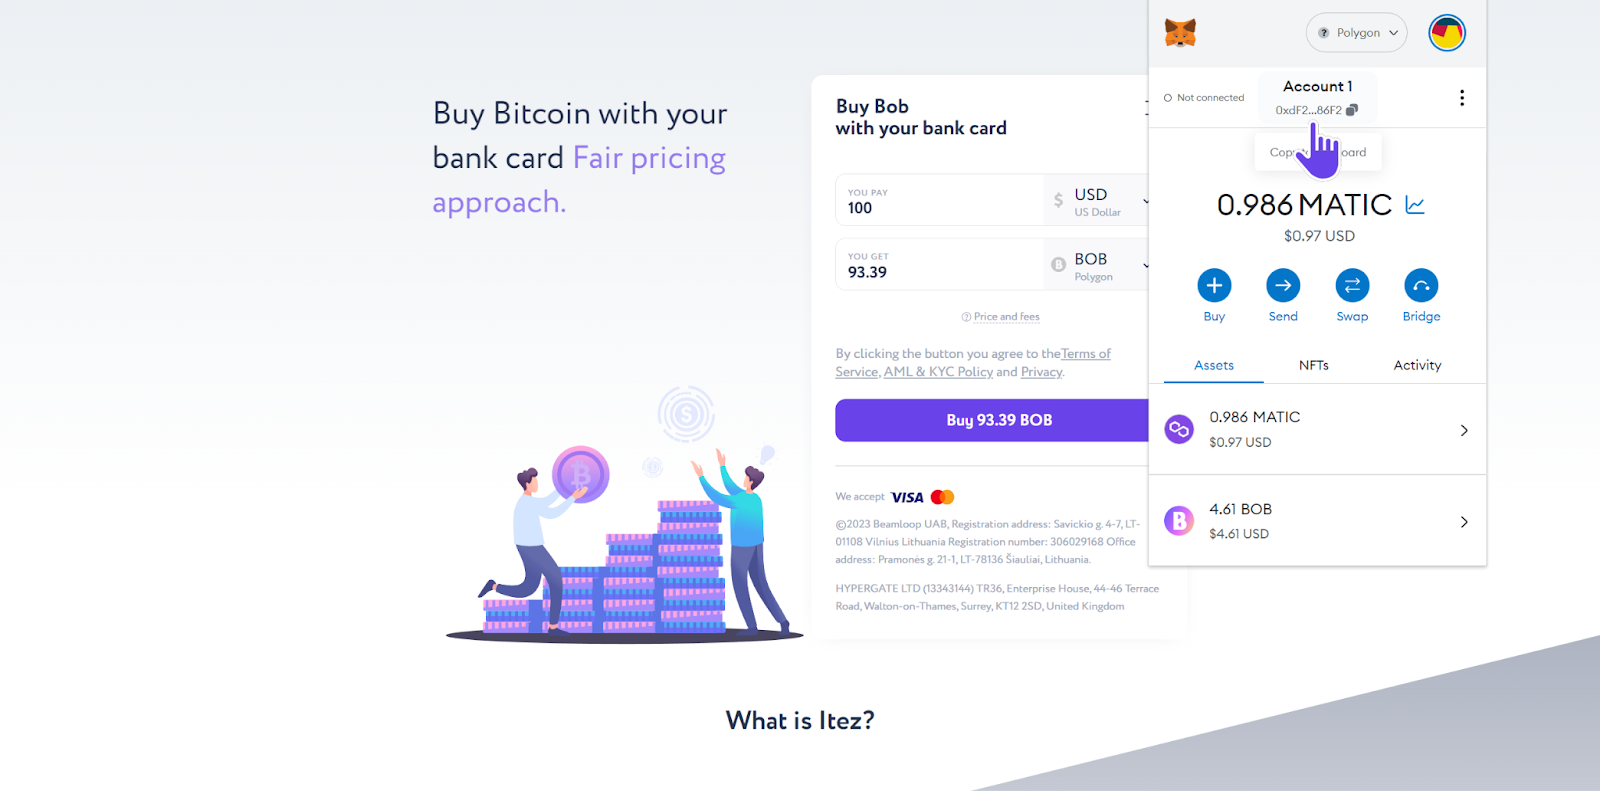
Step 20. Now using this address you can easily purchase BOB on itez.com.